Riding your motorcycle on a warm sunny day is undoubtedly one of the most enjoyable ways to spend an afternoon. Unfortunately, cleaning and maintaining those components that help your engine run its best can be a real pain in the neck.
The carburetor, which helps meter the right amount of fuel into your engine cylinders, requires special attention and regular cleanings if you want it to function properly.
If you’re looking for help in doing just that, this comprehensive guide on how to clean a motorcycle carburetor should do the trick!
Let’s get started.
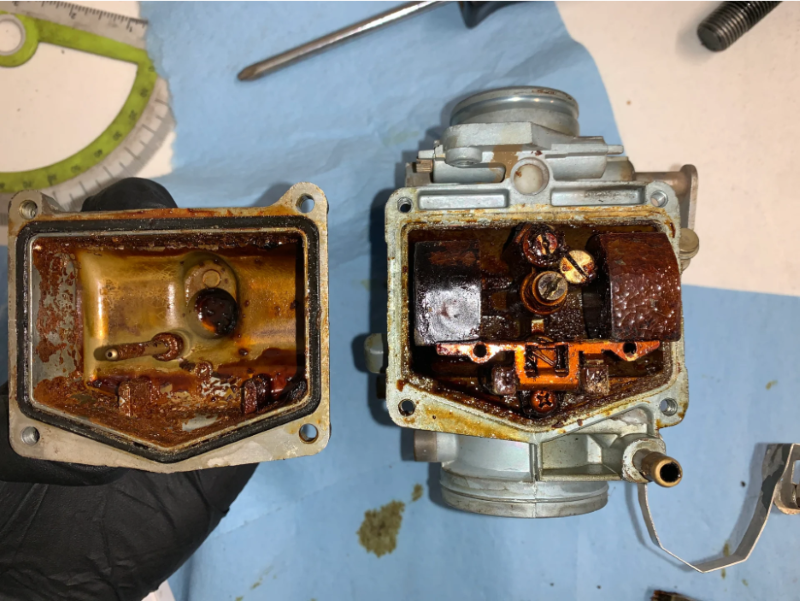
What are the Symptoms of a Clogged Carburetor Motorcycle?
A clogged carburetor in your motorcycle can be a disabling issue. The symptoms of this problem include:
- Lack of power when the throttle is pressed to sluggish acceleration
- Difficulty in starting the motorcycle
- The motorcycle surges at idle speed
- Black smoke coming out of the exhaust
- Poor fuel economy
- Strange engine noises
These issues may at first not appear to be related to a clogged carburetor but could make it more difficult (and expensive!) if not dealt with in time.
With proper maintenance and regular check-ups, you can keep your motorcycle carburetor running clear and smooth!
But how do you clean a clogged motorcycle carburetor? Let’s discuss it in the next segment.
How to Clean a Motorcycle Carburetor
Are you a motorcycle enthusiast looking for an easy way to clean the carburetor of your motorcycle? If so, follow the below-discussed steps:
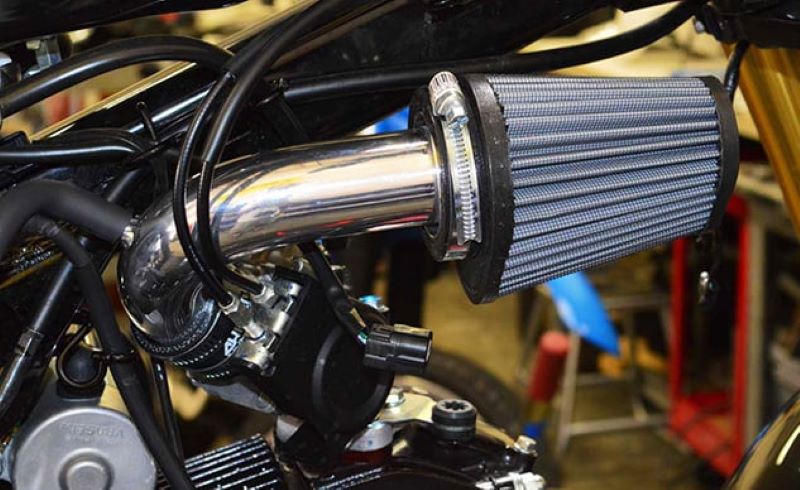
Step 1: Keep the Air Filter Dirt-Free

Keeping a motorcycle carburetor clean is essential for its performance and longevity.
Any debris or contaminants in the airflow can cause clogs, restricting the amount of fuel moving through the carburetor and resulting in poor performance, misfiring, or even more serious engine damage.
High-quality, low-resistance air filters are available to combat this issue while providing much-needed protection from harmful dust particles.
When it comes to longer trips or dirtier areas, some folks may even opt to double their air filter protection with a pre-filter layer.
Step 2: Clean the Carburetor

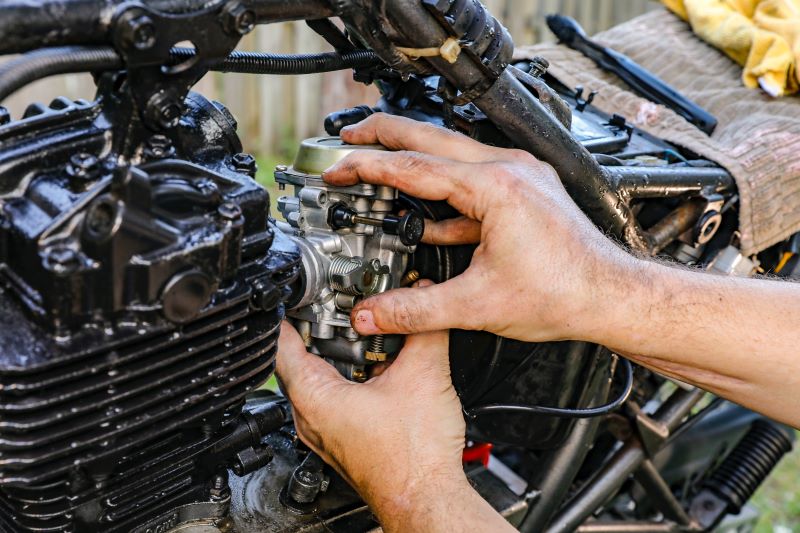
To ensure optimal functionality and performance, remove the carburetor and properly clean it on a regular basis.
Not only will this help maintain your engine’s efficiency, but it will also reduce the risk of mechanical damage down the line by preventing buildup and clogs.
The process of removal requires knowledge of the type and model of your bike and an understanding of where the carburetor is located, so make sure to refer to your owner’s manual for guidance.
Step 3: Take out the Carburetor Float
To effectively clean a motorcycle carburetor, remove the float. The process is relatively simple and requires the right set of tools.
Begin by taking off the air filter box and disconnecting the choke and throttle cables. From there, take off the four screws that secure the carburetor cover while taking care to not damage or lose any vital components.
Once you’ve uncovered the float, remove it to clean. For utmost efficiency when cleaning a motorcycle carburetor, removing and then replacing the float is an essential part of that process.
Step 4: Detach other Components
Once all the removable pieces are removed, the vacuum, throttle, and choke cables need to be detached and set aside. After any bolts or other fasteners are disconnected and removed, the entire carburetor should slide out easily.
Be careful to store all of these smaller parts in an organized container so they may be reattached later.
With these components safely taken apart and stored safely away, you will now have access to clean the areas around and inside of your motorcycle’s carburetor for thorough maintenance.
Step 5: Properly Wash and Dry
Take a bowl of warm water and an old rag. To begin, dump all the loose dirt, loose parts and any other materials from the carburetor into the bowl.
Use the rag to scrub away stubborn grime or gunk that won’t come off with just your hands. Once all the visible dirt has been removed, fill up the bowl with warm water and allow the parts to soak for fifteen minutes or so. This will give even more stubborn particles time to loosen up for easier removal.
Once done soaking, empty out the remaining water from the bowl and use your rag to thoroughly dry each piece of your motorcycle’s carburetor before reassembly.
Step 6: Get all the Components Together
Once you are done with cleaning, reassemble and replace all the components before the carburetor can be used again.
This requires lining up the gaskets, washers, and screws appropriately to ensure that nothing will leak when in use.
Taking the extra time to make sure everything is tightened properly prior to testing can save you from painful repairs down the line.
Once all bolts are secure, fill in any gaps with sealant and test out the carburetor.
How to Clean a Motorcycle Carburetor Without Removing It

Cleaning a motorcycle carburetor without removing it can seem like a daunting task but understanding the principles behind the process and having the right supplies on hand can make it easier.
The most important part of this project is using the correct solvent to clean difficult-to-reach crevices. By choosing one that evaporates quickly, you can ensure that no residue is left behind after cleaning.
Start by spraying the solvent into all of the ports and any passages that are present. After letting them soak for at least 10 minutes, take a brush dampened with more solvent and use gentle pressure to scrub away any remaining deposits.
To finish up, let your bike run for several minutes so there are no residual traces of cleaner before hitting the road.
How Much Does It Cost to Replace a Motorcycle Carburetor
Replacing a motorcycle carburetor can be an expensive endeavor. Depending on the make and model of motorbikes, the cost varies.
Also, the cost depends on the complexity of the design, as well as labor costs associated with installation.
It is recommended that you have the work done by a professional skilled mechanic or shop to ensure that you receive quality parts and get the job done safely.
If done correctly, replacing your motorcycle’s carburetor can extend its life and give it improved performance for many miles to come.
Final thoughts,
Now that you know how to clean a motorcycle carburetor, it’s important to keep it in good condition.
Make sure to always use the correct type of carb cleaner and follow the manufacturer’s instructions for ‘how often to clean your carburetor’.
By doing so, you can ensure your bike will run smoothly and provide many years of service.
FAQ’s:
Q. Can I clean a carburetor without taking it apart?
A. Cleaning a carburetor without disassembly is difficult. To properly clean it, you need to remove and inspect the parts. However, you can improve its performance to some extent by spraying carburetor cleaner through the openings.
Q. How do you know if your motorcycle carburetor needs cleaning?
A. If you’re experiencing difficulty starting, poor idling, reduced power, or irregular throttle response, it could be due to a dirty carburetor. Cleaning the carburetor will fix these problems and ensure that your engine performs at its best.
Q. How often should I clean my motorcycle carburetor?
A. To maintain optimal fuel efficiency and engine performance, clean your motorcycle carburetor every 3,000 to 5,000 miles or when you notice performance issues. Regular maintenance is essential.
Q. Can I clean a carburetor myself?
A. Cleaning a carburetor yourself is possible. You will need a carburetor cleaner. Start by removing it from the engine. Then, disassemble it and clean all the components. Finally, reassemble it using a manual for guidance.
Q. What are the symptoms of a dirty carburetor?
A. A dirty carburetor can cause several symptoms. These include poor engine performance, rough idling, reduced fuel efficiency, stalling, and difficulty starting. To ensure your vehicle functions properly, it is essential to clean the carburetor.
